A great photograph can start with an excellent camera, but it rarely starts there.Before choosing a lens, adjusting your settings, or directing your subject, there is another decision that can completely change the final image: where you take the photograph.
The right photography location gives you better backgrounds, more interesting light, stronger compositions, and enough flexibility to create several different images during one session. The wrong location can leave you fighting with harsh light, crowds, distracting backgrounds, difficult access, or a setting that simply does not match the mood you had in mind.
So, how do photographers actually find good photography locations?
The answer is not simply “search for beautiful places.” Professional location scouting is a combination of visual research, light planning, practical checking and an in-person visit.
This guide explains exactly how to do it.
What Makes a Good Photography Location?
A good photography location is not necessarily the most famous or beautiful place in a city. In fact, some of the best locations are ordinary places that offer the right combination of:
- Interesting backgrounds
- Good natural light
- Multiple shooting angles
- Enough space to work
- Reasonable privacy
- Easy access
- Suitable surroundings
- Minimal visual distractions
- A style that matches the subject
- A practical backup option
Professional photographers also need to consider things that may not appear in a beautiful Instagram photograph, including parking, restrooms, terrain, permits, crowds and safety. The Professional Photographers of America recommends evaluating both the aesthetic qualities and practical feasibility of a location before committing to it.
That leads to an important rule: Don’t choose a location because it looks good in one photograph. Choose it because it gives you options.
Start With the Photograph, Not the Location
One of the biggest mistakes photographers make is searching for “beautiful photography locations” before deciding what they actually want to photograph.
Start with the final image.
Ask:
What kind of photograph am I trying to create?
For example:
- A romantic engagement portrait
- A professional headshot
- A family photography session
- A fashion editorial
- A wedding portrait
- A dramatic landscape
- An urban street portrait
- A sunset couple session
- A commercial lifestyle photograph
- A minimalist portrait
Each one requires a different environment.
- A fashion shoot might benefit from modern architecture, concrete textures, colorful walls or dramatic lines.
- A family session may work better in a park, garden or open natural environment.
- A professional headshot may require a clean background and controlled light rather than an impressive landscape.
- A wedding portrait might benefit from architectural details, gardens, historic buildings or dramatic natural scenery.
- Once you know the visual goal, your location search becomes much more specific.
How to Find Photography Locations Online
You don’t always need to drive around a city for hours looking for locations. A large part of location scouting can be done before you leave home.
1. Use Google Maps and Street View
Google Maps is one of the most practical tools for discovering potential photography locations.
Start by searching for terms related to the type of environment you need:
- Gardens
- Parks
- Beaches
- Waterfronts
- Historic buildings
- Urban districts
- Trails
- Bridges
- Botanical gardens
- Industrial areas
- Architecture
- Viewpoints
Then switch between the map, satellite imagery and Street View where available.
Satellite imagery can help you identify the overall layout of a location, while Street View gives you a better idea of what the photographer will actually see at ground level. Look beyond the obvious landmark.
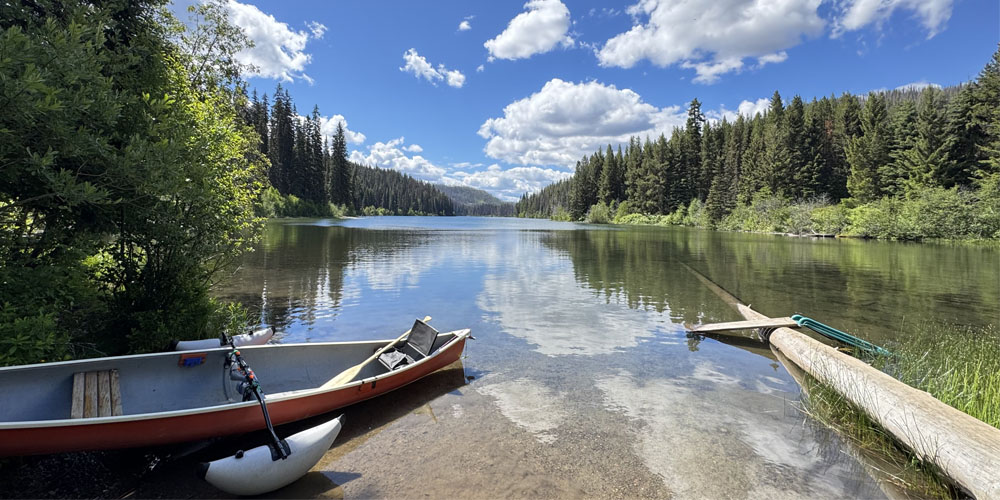
A popular park might contain:
- A quiet pathway
- A small bridge
- A wall covered with greenery
- Interesting tree formations
- An open field
- Architectural details
- A shaded area
The famous landmark may be crowded, while a small corner nearby could provide a much better portrait background. Photographers discussing location scouting frequently mention creating saved map lists so promising locations can be collected and revisited later.
north vancouver photographer prices
2. Search Social Media—But Don’t Copy the Photograph
Instagram, Pinterest and photography communities can be useful for discovering locations. Search for the name of a city, neighborhood, park or landmark and look at recent photographs.
But don’t stop at: “This photo looks beautiful.”
Instead ask:
- Why does this image work?
- Where is the light coming from?
- What is the photographer using as the background?
- Is the location actually attractive, or is the composition doing most of the work?
- What season was the photograph taken in?
- Is this viewpoint overcrowded?
- Could I create something different here?
Social media can also reveal whether a location has changed.
Construction, seasonal vegetation, temporary structures and other obstacles may not appear in older photographs. Cross-checking recent images with mapping tools can prevent unpleasant surprises on shoot day. Use other photographers’ images as research, not as a shot list to copy.
The 80/20 Rule in Photography: A Comprehensive Guide
3. Look for Locations Other Photographers Ignore
If you only search for “best photography locations,” you’ll probably find the same places everyone else has already photographed.
How to Evaluate a Photography Location Before Booking It
Finding a promising place is only the first step.
Before telling a client, “This is our location,” evaluate it using five categories:
- Light: Where will the sun be at the planned shooting time?
- Background: What will actually appear behind the subject?
- Space: Can you comfortably position the subject and photographer?
- Access: Can everyone reach the location easily?
- Restrictions: Are there permits, opening hours or photography restrictions?
A location that looks perfect online can fail one or more of these tests.
Don’t Plan Around “Golden Hour” Alone
Golden hour is beautiful, but simply knowing the golden-hour time isn’t enough.
Will the light actually reach my subject at this location?
A mountain, tall building, dense group of trees or nearby structure can block the sun much earlier than expected.
For outdoor photography, check:
- Sunrise direction
- Sunset direction
- Sun elevation
- Existing shade
- Building shadows
- Tree coverage
- The position of the subject
- The direction you intend to photograph
The same location can look completely different at 8 a.m., noon and 7 p.m.
Light-planning tools can help photographers predict the sun’s direction and position for a particular date and location.
Visit the Location Before the Photography Session
Online research saves time, but it cannot replace seeing the location yourself.
If possible, visit before the actual shoot.
Walk around without your camera and ask:
- Where would I stand?
- Where would my subject stand?
- What lens would I probably use?
- Where is the best light?
- What happens if the weather changes?
- Where can the client wait?
- Where can equipment or personal belongings be placed?
Professional location scouting is specifically about checking whether a location works both visually and practically—not simply whether it looks attractive in photographs.
Check the Location at the Same Time as the Shoot
This is one of the most useful location-scouting habits.
If the shoot is scheduled for 6 p.m., scouting the location at 11 a.m. won’t tell you everything you need to know. You need to understand what happens around the actual shooting time.
Check:
- Light direction
- Shadows
- Crowds
- Traffic
- Noise
- Parking
- Opening hours
- Weather exposure
- Activity in the area
A quiet location at 9 a.m. can become extremely busy in the evening.
The Art of Night Photography: Turning Darkness into Stunning Images
Always Have a Backup Location
Even a carefully researched location can fail.
- The weather may change.
- The park may become crowded.
- A road may be closed.
- Construction may appear.
- The light may be completely different from what you expected.
For important client sessions, keep at least one backup option nearby. Ideally, your backup should offer a similar visual style. For example:
- Main location: outdoor garden
- Backup: greenhouse or covered botanical space
- Main location: waterfront
- Backup: nearby urban architecture with sheltered areas This prevents a small problem from turning into a cancelled session.
Don’t Forget Photography Permits
One of the least exciting parts of location scouting is also one of the most important.
Some public or private locations may have restrictions on professional photography, commercial sessions, tripods, lighting equipment or larger productions.
Before committing to a location, check:
- Whether photography is permitted
- Whether commercial photography requires permission
- Whether a permit is required
- Whether there are photography fees
- Whether there are time restrictions
- Whether tripods or lighting equipment are allowed
The Professional Photographers of America specifically recommends checking whether a location is public or private and whether permission or permits are required.
Don’t wait until the client arrives to discover that you cannot use the location.
Think About Your Client’s Experience
A good photography location isn’t only good for the photograph.
It should also be comfortable for the person being photographed.
Ask:
- Is there convenient parking?
- Is the walk short or difficult?
- Is there somewhere to sit?
- Is there a restroom nearby?
- Is the terrain appropriate for the client?
- Will the client need to walk over rocks or steep paths?
- Is there shade if the weather is hot?
- Is there shelter if it starts raining?
These details matter even more for family, maternity, wedding and extended portrait sessions.
Professional location-vetting guidance recommends considering parking, terrain, restrooms, mobility, weather and personal belongings alongside the visual quality of the site.
How to Find Quiet Photography Locations
If crowds are one of your biggest problems, don’t automatically abandon popular areas.
Instead, change when you photograph.
Try:
- Early morning
- Weekdays
- Off-season periods
- Less popular entrances
- Side paths
- Areas away from major viewpoints
Also scout beyond the main attraction. A large park may have dozens of small areas that are almost completely different from its famous viewpoint. The goal isn’t necessarily to find a location nobody knows. The goal is to find a usable part of the location at the right time.
How to Find Photography Locations While Traveling
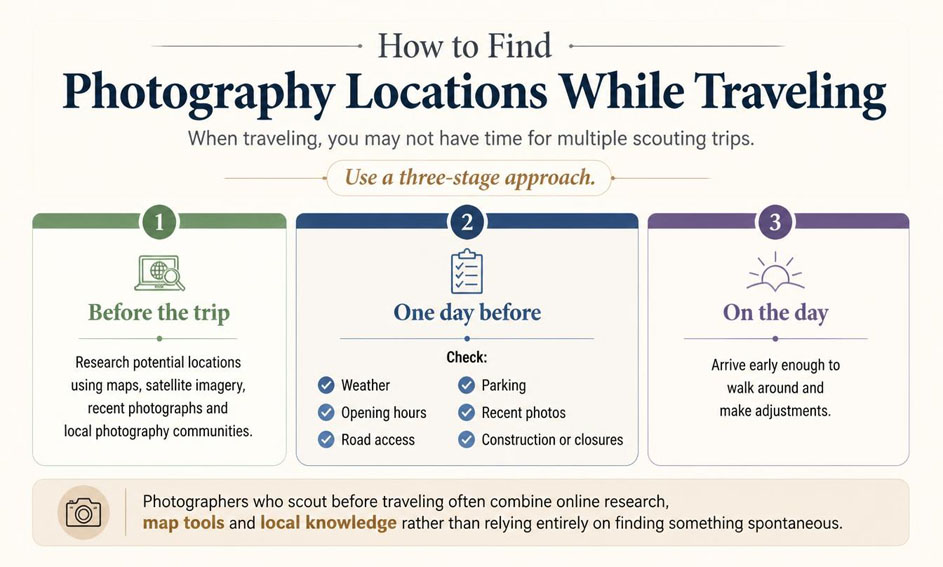
When traveling, you may not have time for multiple scouting trips. Use a three-stage approach.
Before the trip
Research potential locations using maps, satellite imagery, recent photographs and local photography communities.
One day before
Check:
- Weather
- Opening hours
- Road access
- Parking
- Recent photos
- Construction or closures
On the day
Arrive early enough to walk around and make adjustments. Photographers who scout before traveling often combine online research, map tools and local knowledge rather than relying entirely on finding something spontaneously.
Build Your Own Photography Location Database
One of the best long-term strategies is to stop searching from zero every time you have a shoot.
Create your own location database.
For every location, save:
- Location name
- Address
- GPS/map pin
- Photography type
- Best time of day
- Best season
- Light direction
- Parking information
- Permit information
- Crowd level
- Walking distance
- Best backgrounds
- Backup location
- Example photographs
You can also add a personal rating:
- Light: 5/5
- Background variety: 4/5
- Accessibility: 5/5
- Privacy: 3/5
- Overall: 4/5
After a while, this becomes one of the most valuable resources in your photography business.
A Simple 10-Minute Location Scouting Checklist
Before approving a location, answer these questions:
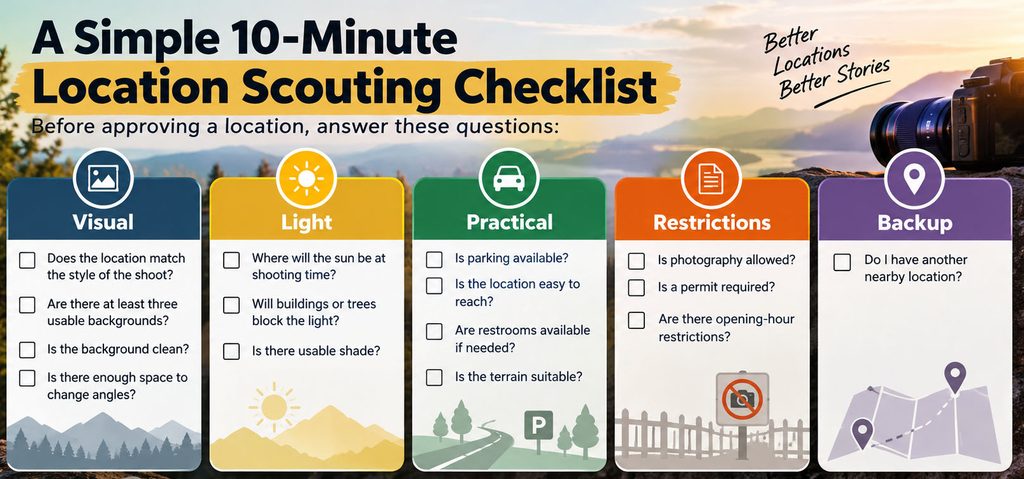
If you cannot answer several of these questions, the location is not ready to be booked.
What Are the Best Types of Photography Locations?
There is no universally best type of location. It depends on the photograph.
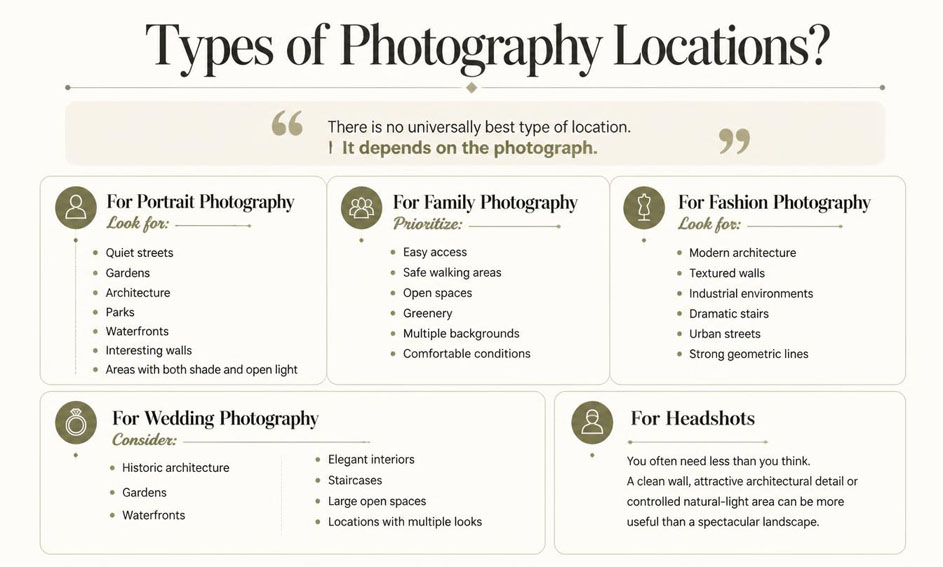
A clean wall, attractive architectural detail or controlled natural-light area can be more useful than a spectacular landscape.
The Best Photography Location Is the One That Gives You Options
Finding a great photography location isn’t about discovering the most beautiful place on Google. It’s about finding a place that works for your specific photograph, at your specific time, under realistic conditions.
A location with beautiful scenery but terrible light may be less useful than a simple location with excellent light. A famous park may be less useful than a quiet side street. And a spectacular viewpoint may not be practical if your client has to walk a long distance to reach it.
Frequently Asked Questions About Finding Photography Locations
Most photographers combine several methods rather than relying on one source. Google Maps, Street View, satellite imagery, social media, local photography communities and personal exploration are all useful. The important step is to verify the location rather than trusting a single photograph.
Search for specific environments instead of only searching for famous photography spots. Explore satellite imagery, less popular neighborhoods, side streets, local parks, waterfront areas and community recommendations. Save interesting places as you discover them.
Yes. Google Maps can help you identify potential locations, understand the surrounding area and check accessibility. Street View can provide a ground-level preview, while satellite imagery can reveal paths, open spaces, water features and other useful details.
For a local portrait session, scouting a few days in advance may be enough. For weddings, commercial shoots or destination photography, earlier scouting is better because you have more variables to manage.
Check the sun’s direction and elevation for the exact date and shooting time. Then consider whether buildings, mountains or trees will block the light. Don’t assume that a location facing the sunset will automatically receive direct sunset light.
If possible, yes. An in-person visit can reveal problems that aren’t obvious online, including crowds, noise, construction, difficult terrain, poor backgrounds and unexpected shadows.