If you sell a product, chances are you’ve already felt it: a phone photo just doesn’t do your work justice. The lighting is flat, the colors are off, and next to a competitor’s polished catalog shot, your product looks like an afterthought. That gap between how good your product actually is and how good it looks online is usually the difference between someone scrolling past and someone clicking “add to cart.”
I’m Mandana Rostami, and I’ve spent the last 17 years behind the camera in North Vancouver, working with everything from restaurant menus to industrial equipment to small-batch local brands. Product photography is one of the questions I get asked about the most — mostly because people genuinely don’t know what a session should cost or what they’re actually paying for. So let’s clear that up.
What Product Photography Actually Involves
Product photography sounds simple on the surface — take a nice picture of your item — but a professional session is really a small production. It usually includes:
- Lighting setup tailored to the product’s material (matte, glossy, reflective, transparent all behave differently under light)
- Styling and staging, whether that’s a clean white background or a full lifestyle scene
- Multiple angles per product, since online shoppers expect to see something from more than one side
- Color correction and retouching, so what customers see on screen matches what they’ll receive in the mail
- File preparation in the formats you actually need — web-optimized JPEGs, high-res files for print, sometimes even video or 360° spins
A DIY photo can capture what a product is. A professional shoot captures why someone should want it.
How Can a Photo Change a Buying Decision in Just 3 Seconds?
The Main Types of Product Photography
Not every product needs the same treatment, and part of what you’re paying for is knowing which approach fits your brand:
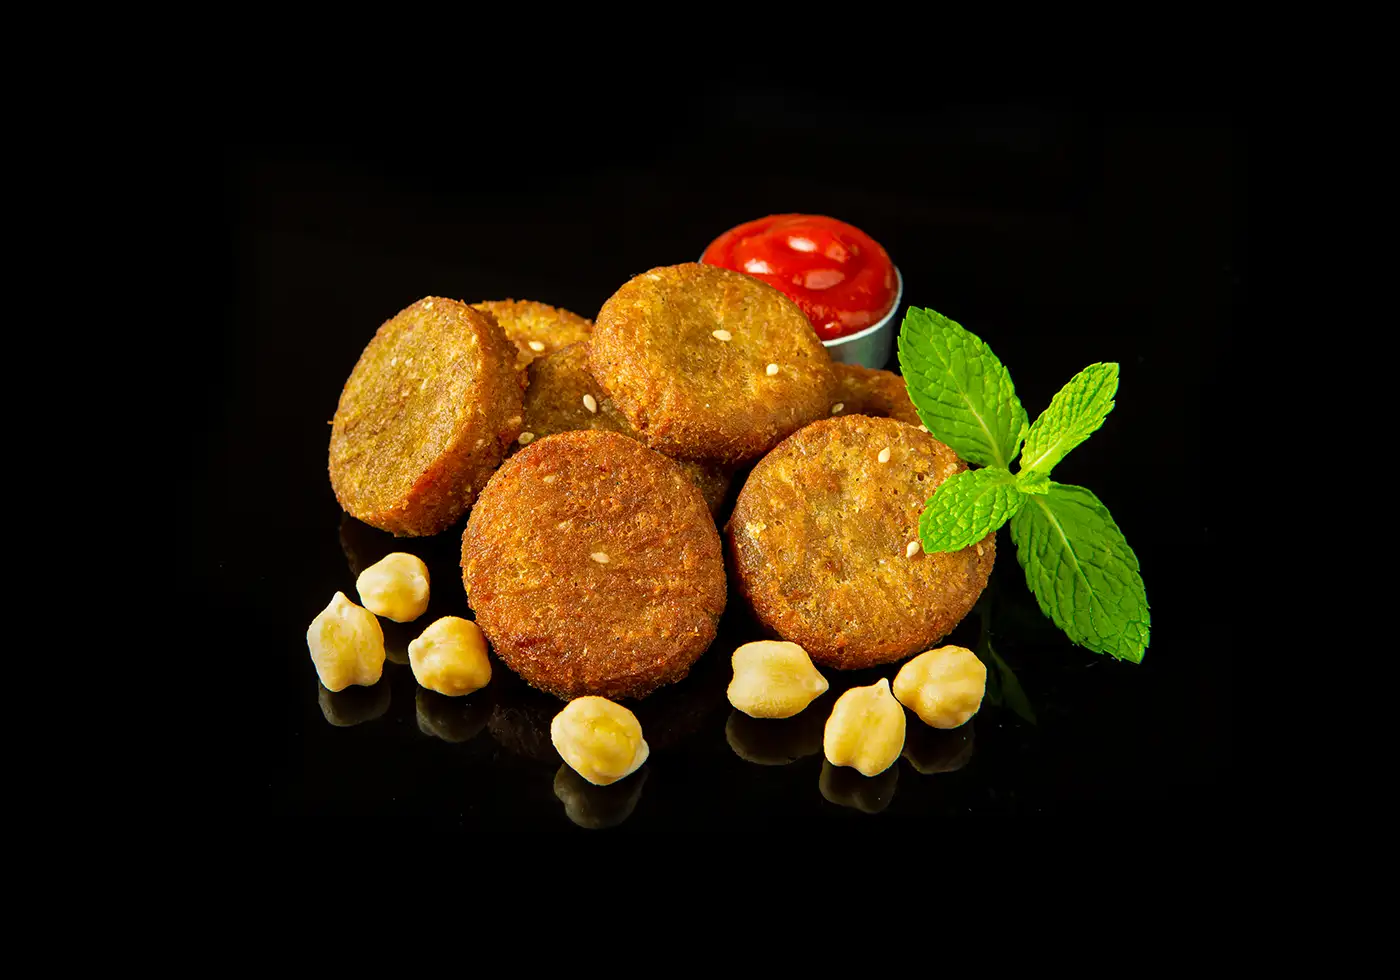
- E-commerce / white background photography Clean, consistent, distraction-free shots — the standard for marketplaces like Amazon, Etsy, or your own online store. These are efficient to shoot in volume once lighting is dialed in.
- Lifestyle photography Your product shown in context — a candle lit on a bedside table, a skincare bottle in someone’s hands, food styled on a table. This is where a product stops looking like inventory and starts looking like part of someone’s life.
- Flat lay photography Shot from directly above, often used for cosmetics, food, jewelry, and fashion accessories. Great for social media and editorial-style marketing.
- Detail and macro shots Close-ups that show texture, craftsmanship, or fine details — stitching on a bag, the grain of a wood product, condensation on a drink bottle. These build trust, especially for higher-priced items.
Most brands end up using a mix — clean shots for the product listing itself, lifestyle and detail shots for social media, ads, and the website’s homepage.
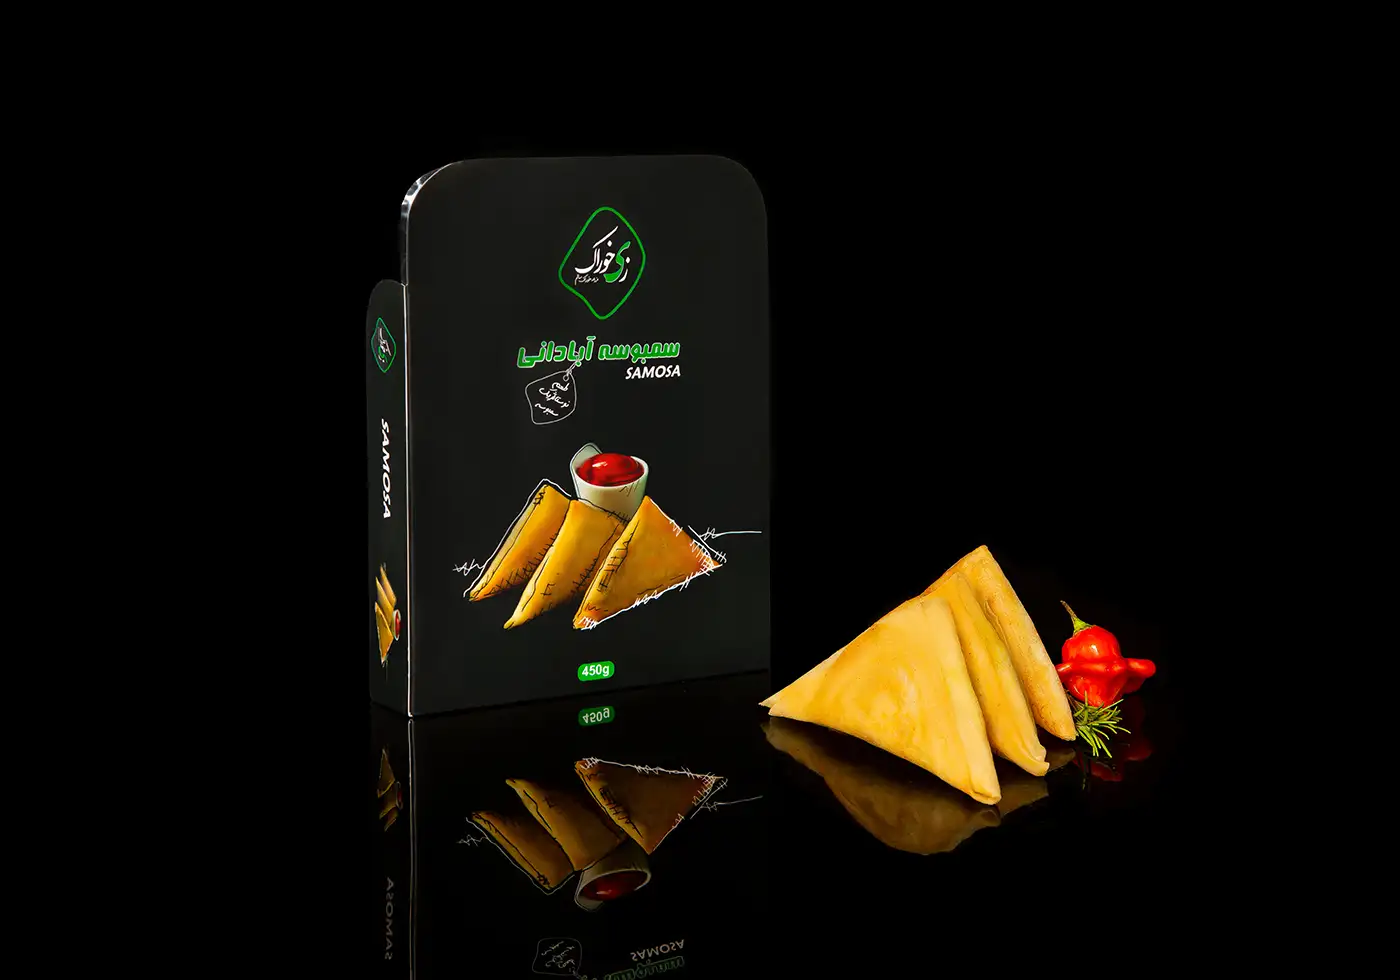
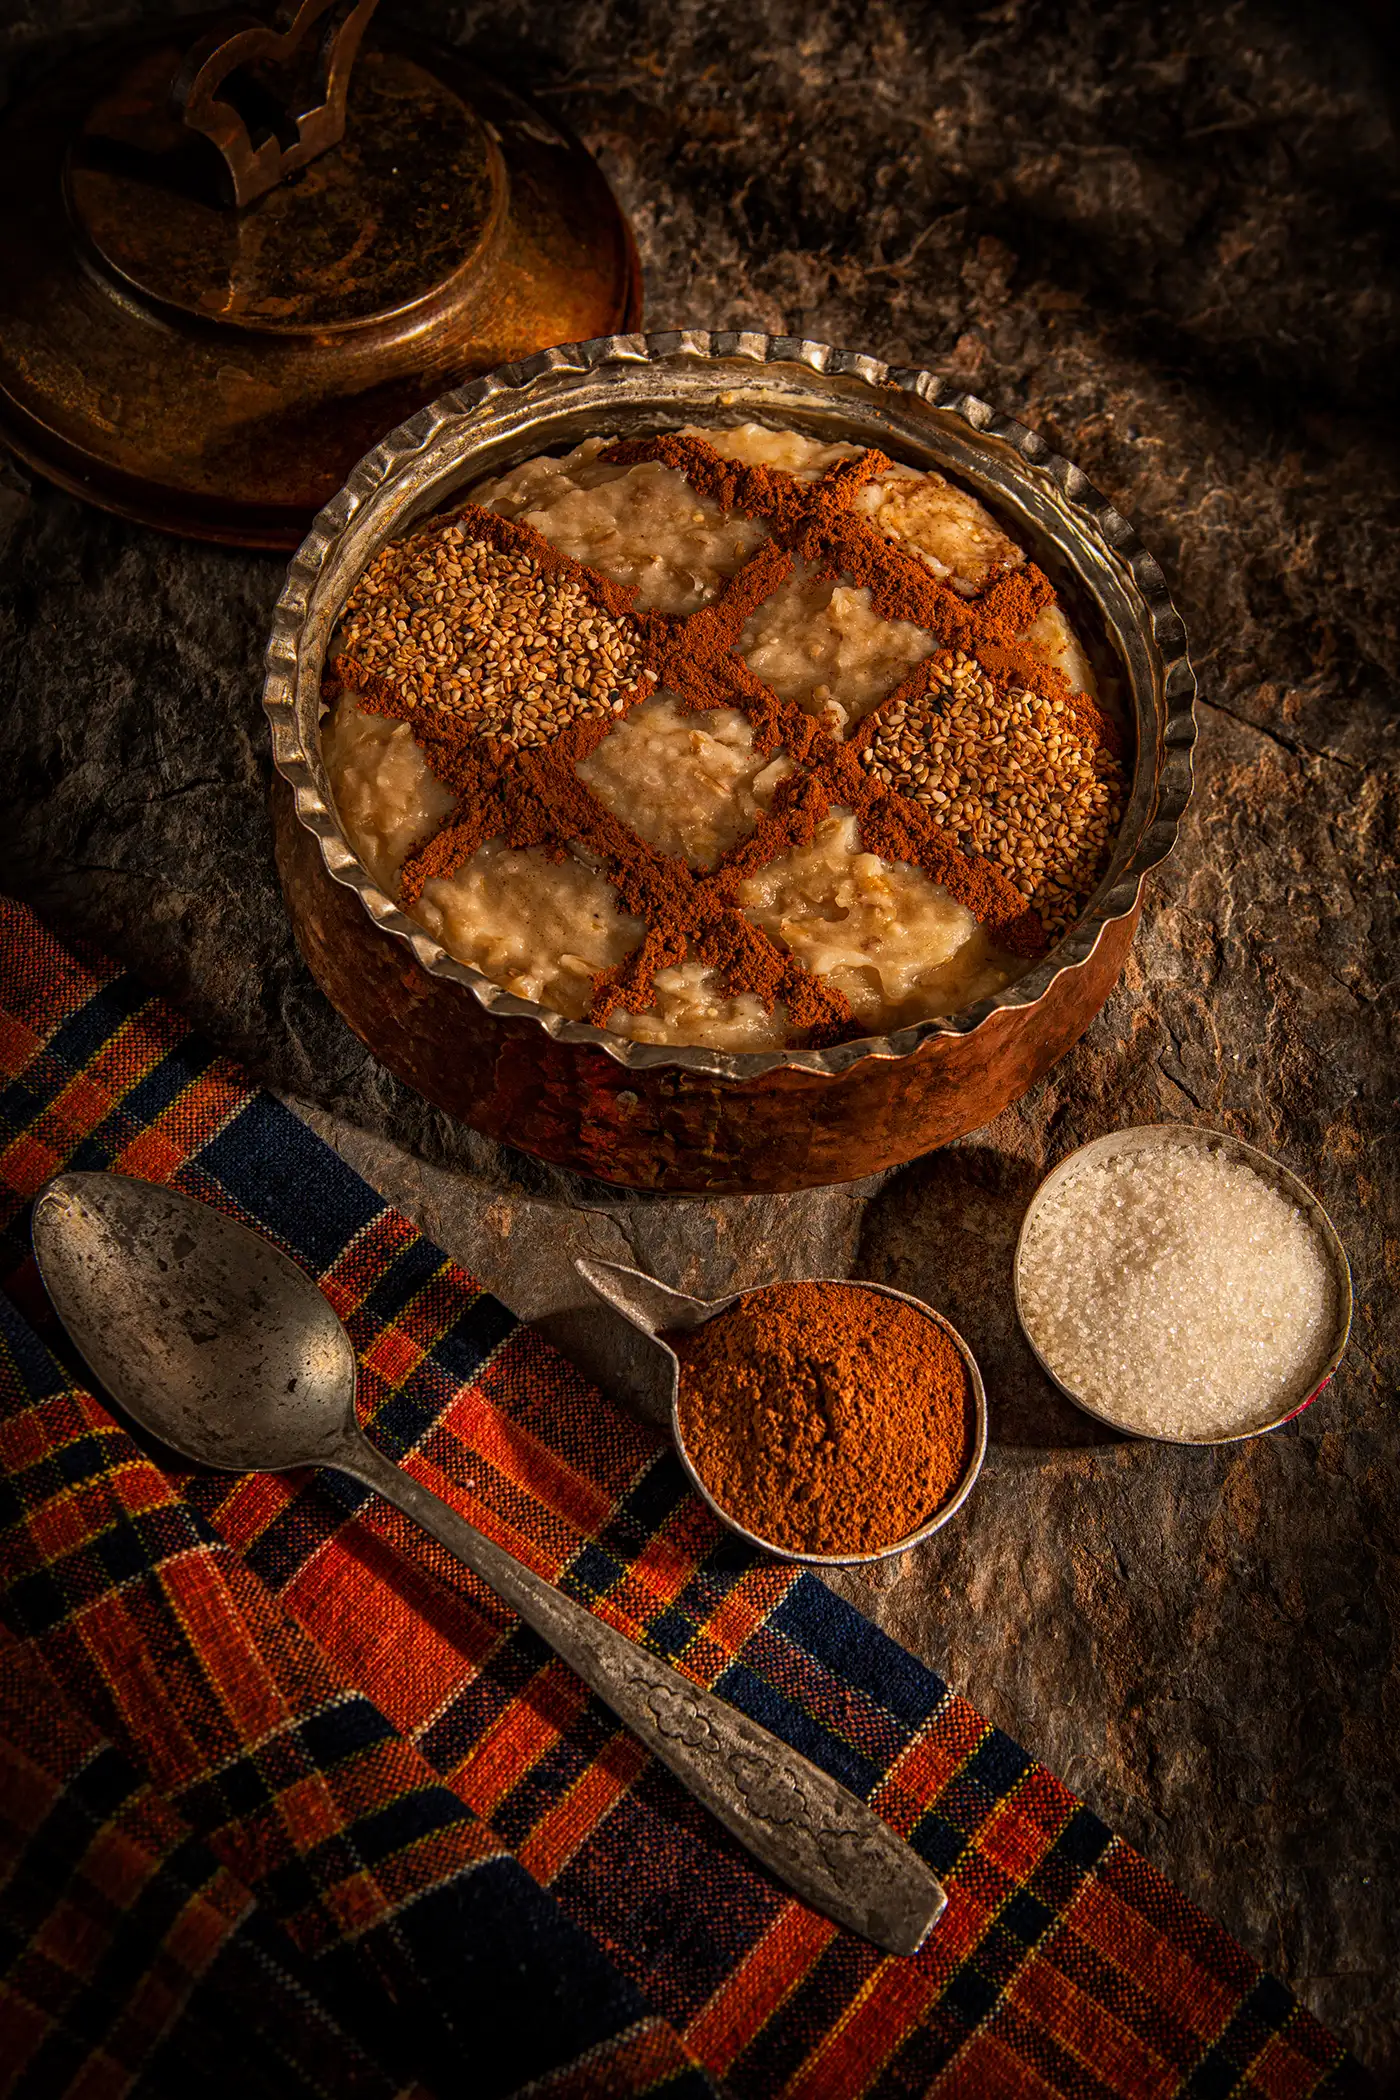
Restaurant photography
food menu photography

What Product Photography Costs in Vancouver
This is the part everyone actually wants to know, so here’s an honest breakdown. Pricing in Vancouver generally falls into a few tiers, depending on complexity:
| Package type | What it typically includes | General price range |
| Basic e-commerce package | White/clean background, single angle per product, minor retouching | Lower end — best for straightforward products in higher volume |
| Standard product package | Multiple angles, color correction, moderate retouching | Mid-range — the most common choice for small businesses |
| Lifestyle / styled shoot | Props, staging, creative direction, extensive retouching | Higher end — priced more like a creative session than a per-item shoot |
| Bulk / catalog pricing | Discounted per-product rate for large product lines | Lower per-item cost, higher total project cost |
A few honest notes on pricing:
- Per-product cost drops as volume goes up. Shooting 5 products costs more per item than shooting 50, because setup and lighting are largely fixed costs.
- Complexity matters more than size. A small piece of jewelry that needs careful macro lighting can take longer than a large, simple product.
- Retouching is often quoted separately. Basic color correction is usually included; heavy retouching (removing reflections, compositing, extensive cleanup) adds time and cost.
- Studio vs. on-location changes the math. In-studio shoots are typically more efficient and cost-effective; on-location shoots involve travel time and setup logistics.
Because every product line is different, I always recommend a quick consultation rather than guessing from a generic price list — a 20-product skincare line and a single hero product for an ad campaign are simply not priced the same way.
Commercial Photography and Advertising Photography — Explained Simply
What You Actually Get for That Price
When you book a professional product photography session, you’re not just paying for someone to press a shutter button. You’re paying for:
- Consistency across your entire catalog, so your store or listings look like one cohesive brand, not a patchwork of different lighting setups
- Usage rights clarity, so you know exactly where and how you can use the images (web, print, ads)
- Turnaround time, with a clear delivery timeline instead of guessing
- Revisions, so you’re not stuck with a shot that doesn’t quite work
- A photographer who understands Vancouver’s market — how local buyers browse, what stands out on marketplaces, and how to make small businesses compete visually with bigger brands
north vancouver photographer prices
Why Local Product Photography Beats DIY or Stock Photos
Generic stock photos never quite match your actual product, and DIY photos — even good ones — rarely have the lighting consistency that professional gear provides. For a local business, there’s also something else at play: buyers in Vancouver increasingly want to see that a brand is real and local. Photos with a genuine, polished, human touch tend to build more trust than an obviously staged stock image ever will.
Working with a Vancouver-based photographer also means faster turnaround (no shipping products across the country), the ability to make quick adjustments in person, and photography that understands the local retail and e-commerce landscape.
The 80/20 Rule in Photography: A Comprehensive Guide
Let’s Make Your Products Look as Good as They Deserve
If you’ve been putting off proper product photography because you weren’t sure what it would cost, the best next step isn’t guessing — it’s a short conversation. Every product line is different, and a quick consultation will give you a much more accurate picture (pun intended) than any generic price list.
Reach out to book a free consultation, and let’s talk about what your products actually need to shine online.
Commercial vs Industrial Photography: What’s the Real Difference?
Frequently Asked Questions
How many products can be shot in one session?
It depends on complexity, but most standard e-commerce sessions can comfortably cover a good number of products in a single day. Highly detailed or styled shots take longer per item.
Do I need different photos for my website versus social media?
Not necessarily different photos, but often different crops or formats. A clean product shot for your website can often be repurposed for social media, while lifestyle shots tend to perform better specifically on social platforms.
How long does it take to receive the final images?
Turnaround varies by project size and how much retouching is involved, but most clients receive a clear timeline before the shoot begins — no guessing games.
Can you shoot both clean e-commerce photos and lifestyle photos in the same session?
Yes, and many businesses do exactly this — clean shots for the product listing, lifestyle shots for marketing and social media, all captured in one visit.
What should I bring or prepare before the shoot?
Ideally, your products should be clean, undamaged, and ready to be handled. If you have brand guidelines, color references, or example images you like, sharing those beforehand helps a lot.